 how-to
Matching New Concrete to Old Surfaces: A 2026 Guide
Table of Contents
- Why New Concrete Never Matches Old Concrete
- How to Bond New Concrete to Old Concrete
- Concrete Color Matching Techniques That Work
- Professional Concrete Patio Repair Services vs DIY
- Curing, Sealing, and Long-Term Color Maintenance
- Troubleshooting Common Blending Problems
- Conclusion: Getting a Seamless Blend
- Frequently Asked Questions
Last Updated: September 17, 2026
Why New Concrete Never Matches Old Concrete
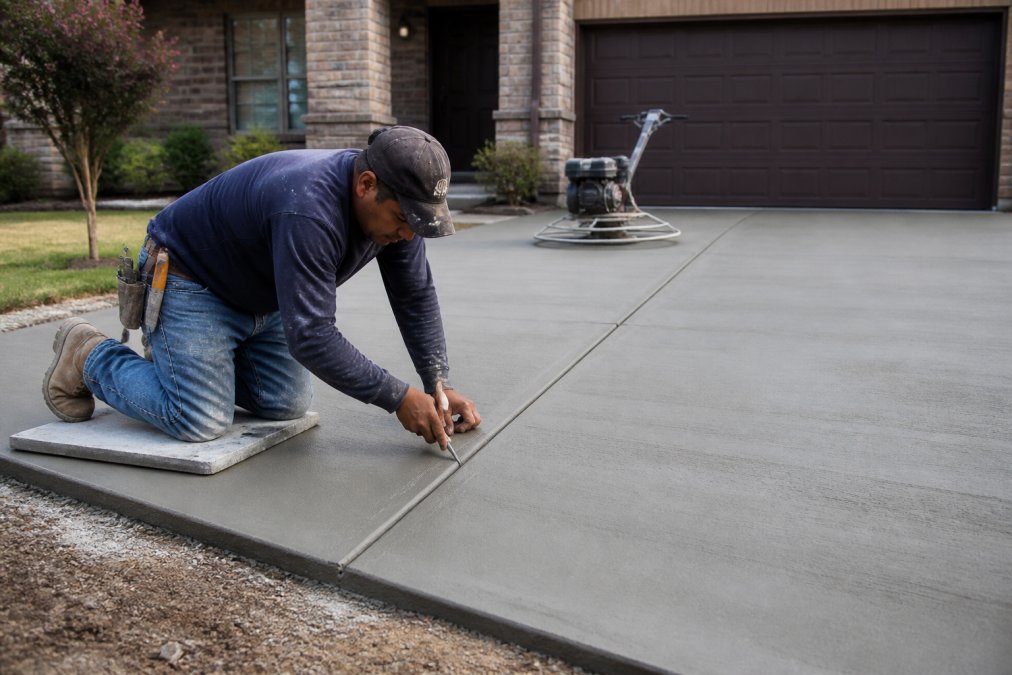
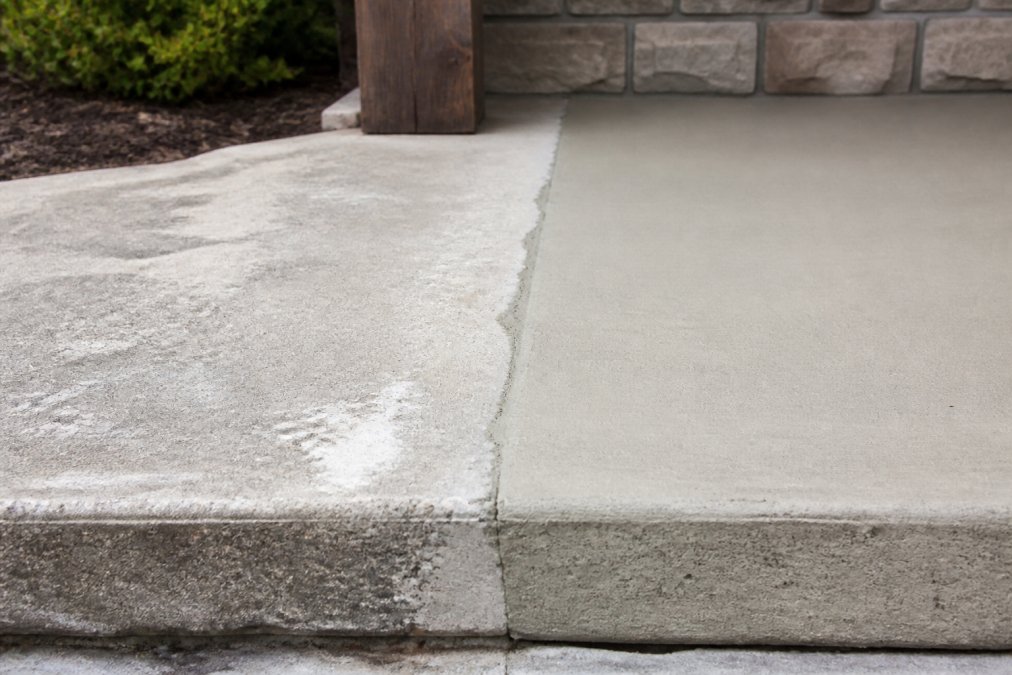
Matching new concrete to old surfaces fails because the new slab is still curing while the old one finished years ago. Fresh concrete looks lighter and more uniform than weathered concrete beside it, and the gap widens each season. This guide from GatorCrete covers the prep, bonding, and tinting steps that close it.
The Chemistry Behind Color Variance
Cement cures through hydration, a reaction between cement powder and water that forms calcium silicate hydrate. It leaves alkalinity in the surface layer, so fresh concrete reads lighter and slightly chalky until that alkalinity neutralizes.
How Weathering Changes Surface Appearance
Weathering is the slow change in surface appearance caused by ultraviolet light, rain, freeze-thaw cycles, and foot traffic. It darkens exposed aggregate, opens pores, and dulls the original finish consistency.
How to Bond New Concrete to Old Concrete
Bonding new concrete to old concrete works when the old surface is clean, profiled, and primed with the right bonding agent. Skip any of those three and the patch delaminates within a season or two.
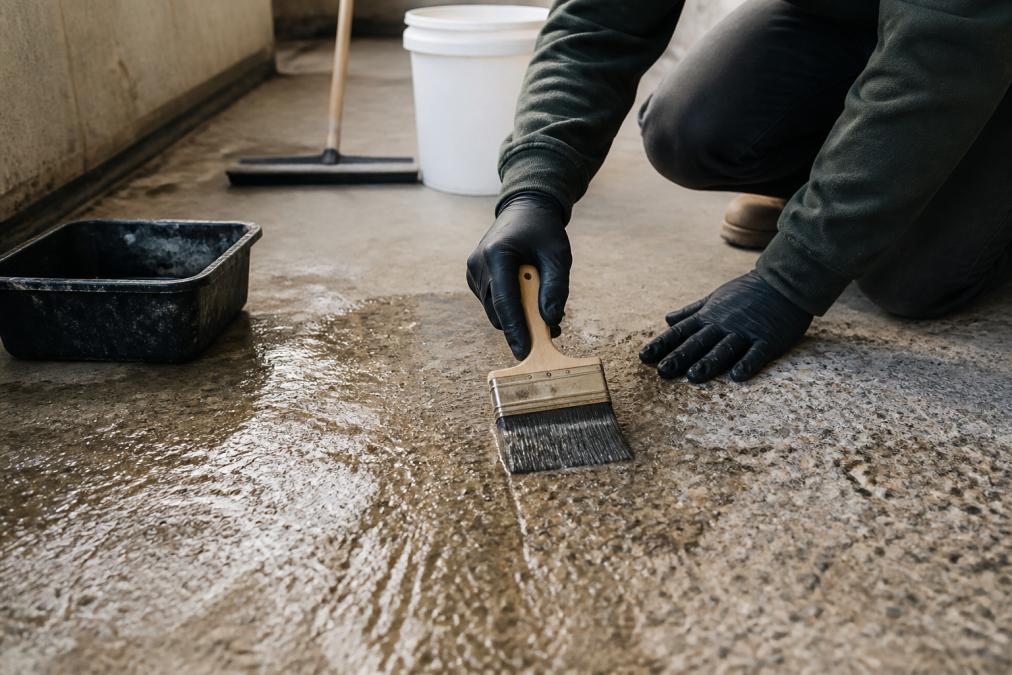
Here is the sequence that holds up in practice:
- Pressure wash the old slab to remove dirt, algae, and loose material
- Acid wash or mechanically grind the surface to open the pores
- Let the slab dry to a stable moisture content
- Apply a bonding primer or bonding agent while the surface is still slightly damp, per the manufacturer's spec
- Place the new concrete or concrete overlay within the working window
- Finish, cure, and seal
Surface Preparation Requirements
Surface preparation is the most important step and the one most DIY patches skip. The old slab must be free of sealer, oil, paint, and loose concrete repair material. Pressure washing removes grime; an acid wash or diamond grinding opens the surface texture so the bonding agent can grip.
Choosing the Right Bonding Agent
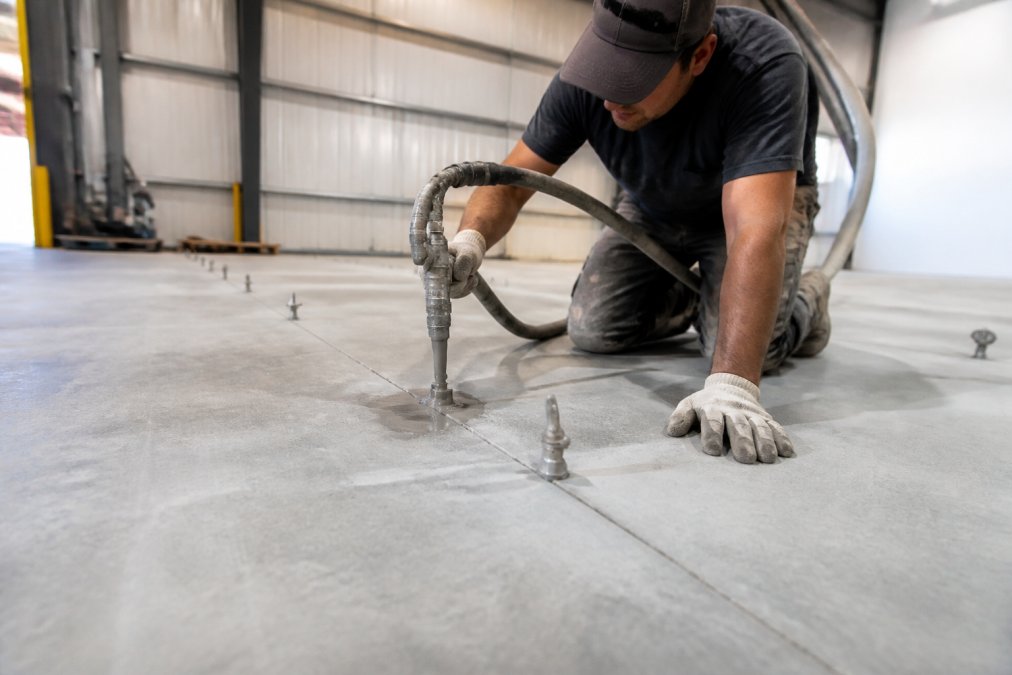
A bonding agent is a liquid primer, usually acrylic or epoxy-based, applied to the prepared old surface to link it to the new pour. Acrylic agents suit thin concrete resurfacer and concrete overlay work; epoxy agents suit structural patches and thicker pours where load transfer matters.
Material Compatibility Matrix
Most guides say "use a bonding agent" without saying which pairs with which surface. This matrix keeps a patch from failing at the seam.
| Old Surface Type | Recommended Primer | New Material | Notes |
|---|---|---|---|
| Broom-finish slab, unsealed | Acrylic bonding agent | Thin overlay or resurfacer | Etch or grind first; primer goes on damp surface |
| Broom-finish slab, previously sealed | Strip sealer, then acrylic | Thin overlay or resurfacer | Sealer blocks primer penetration if left in place |
| Stamped or decorative slab | Acrylic, tinted to match release color | Overlay with matching texture | Match release agent tone before pour, not after |
| Structural slab, load-bearing | Epoxy bonding agent | Thick pour or structural patch | Apply at manufacturer's spread rate; too thick creates a slip layer |
| Exposed-aggregate slab | Acrylic plus aggregate broadcast | Overlay with aggregate seed | Match aggregate size and color at the batch stage |
| Old slab with efflorescence | Clean, neutralize, then acrylic | Overlay or resurfacer | Efflorescence indicates moisture migration; fix the source first |
Concrete Color Matching Techniques That Work
Concrete color matching techniques fall into three families: artificial aging, concrete stain and tinting, and full-area concrete resurfacer or overlay. The right choice depends on how visible the patch is and how much of the surrounding slab you will touch.
Artificial Aging and Tinting Methods
Mix pigment into the new concrete at the batch stage to match the old slab's base tone. After the pour cures, apply a concrete stain to fine-tune the color, then a matte or satin sealer to even out reflectivity.
| Technique | Best For | Typical Timeline | Watch Out For |
|---|---|---|---|
| Artificial aging | Small visible patches | After full cure | Over-darkening the new slab |
| Concrete stain | Fine color tuning | After cure, before seal | Uneven absorption on porous spots |
| Tinting at batch | Large pours | At mixing stage | Batch-to-batch pigment drift |
| Full overlay | Whole-area refresh | Multi-day project | Higher material cost |
Professional Concrete Patio Repair Services vs DIY
Professional concrete patio repair services make sense when the patch is visible, the slab is structural, or the match must hold for years. DIY works for small, out-of-sight repairs where a slight tone difference is acceptable.
Curing, Sealing, and Long-Term Color Maintenance
Curing time drives how the new patch's color develops over its first month. Concrete darkens as it hydrates, then lightens as surface moisture evaporates; a curing compound slows that evaporation and keeps color development even. The same mix cures to a different final tone depending on weather during the first seven days, and the match you achieve on day 30 is not the match you keep on year five.
Climate Variables That Change the Final Color
Humidity and temperature during the cure window move final tone the most, and they are the two most guides ignore.
- Hot, dry conditions (above 90°F, low humidity): concrete flash-dries at the surface before the finish fully sets, leaving a lighter, chalkier top layer and a higher risk of plastic shrinkage cracks. Use a curing compound rated for hot weather, and stain earlier because the surface reaches a stable tone faster.
- Humid conditions (above 70% relative humidity): curing slows and the slab stays darker longer. Color may not stabilize for 45 to 60 days instead of 28, and staining too early locks in a tone that shifts as the slab continues to hydrate.
- Cool conditions (below 50°F): hydration nearly stalls. The patch may look close to the old slab for weeks, then darken suddenly when temperatures rise. Do not judge the match until the slab has seen a full warm cure cycle.
- Freeze-thaw swings: repeated cycles open surface pores and dull the finish, which reads as a color change even when the pigment load is correct. A penetrating sealer applied before the first freeze slows that drift.
The Five-Year Maintenance Schedule
Color matching is not a one-time event. Both slabs weather, and at different rates unless resealed on the same schedule. This schedule keeps a match holding for five years or more.
| Timeframe | Action | Why It Matters |
|---|---|---|
| Day 0-30 | Cure with compound; no sealer, no stain | Sealing or staining too early traps moisture and shifts tone |
| Day 30-60 | First stain pass if needed; match under overcast light | Color stabilizes after full hydration |
| Month 3-6 | Apply first sealer to patch and surrounding slab together | Even reflectivity hides the seam |
| Year 1 | Inspect seam; touch up stain if the old slab has darkened | First weathering cycle reveals drift |
| Year 2-3 | Reseal whole surface on the same schedule | Separate resealing creates a sheen difference at the seam |
| Year 3-5 | Re-stain if tone has drifted; reseal after stain dries | Stain fades faster than sealer wears |
| Year 5+ | Evaluate whether a full overlay is cheaper than continued touch-ups | Repeated spot fixes eventually cost more than a refresh |
Sealing Without Trapping Moisture
Seal the patch and the surrounding slab together, not separately. A sealer applied only to the new area creates a visible sheen difference at the seam. For long-term color matching, reseal the whole surface on the same schedule so both areas weather at the same rate.
Troubleshooting Common Blending Problems
Most blending failures trace to one of four causes: poor surface preparation, the wrong bonding agent, uncorrected color variance, or a sealer applied too early.
- Milky white spots after sealing: usually trapped moisture. The slab was not fully cured or was too damp when sealed. Strip the sealer, let the slab dry, and reseal.
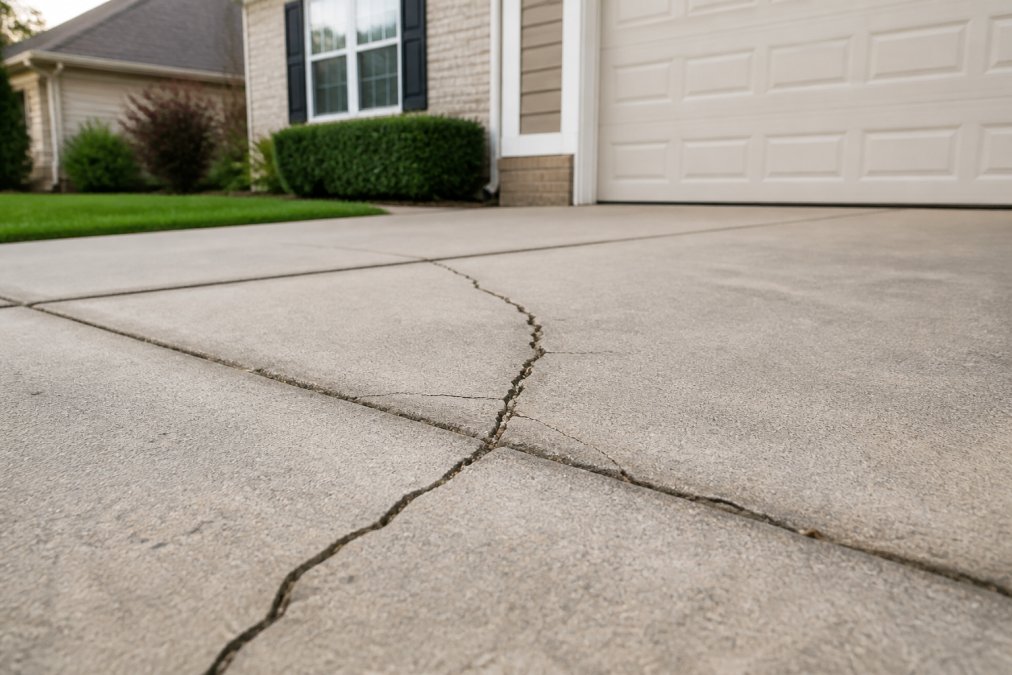
- Patch delaminating at the edges: the old surface was not profiled or primed correctly. Grind back, re-prime, and re-pour.
- New patch visibly lighter than the old slab: the pigment load was too low, or the old slab has darkened from weathering beyond what a light tint can match. Apply a concrete stain to bring the tone down.
- Visible seam line even after tinting: reflectivity mismatch. A matte sealer on both surfaces usually hides it.
Conclusion: Getting a Seamless Blend
A seamless blend between new and old concrete is achievable, but it takes patience at three stages: prep, bonding, and tint. Skip the prep and the patch fails. Skip the tint and the patch shows. Skip the cure window and the sealer traps moisture.
Frequently Asked Questions
Why does new concrete look different from old concrete?
New concrete looks different because of several factors. The curing process, or hydration, continues for weeks or months, changing the color as it dries. The old surface has been exposed to weathering, which lightens it and creates a patina. Differences in moisture content, aggregate, and porosity between the two mixes also cause color variance. Even the same mix will look different when poured on different days. Understanding these factors is the first step in matching new concrete to old surfaces.
Can you stain new concrete to match old concrete?
Yes, staining is a common concrete color matching technique. Wait until the new concrete has fully cured, which can take 28 days or more, before applying stain. Use a penetrating concrete stain rather than a surface coating for a more natural look. Test the stain on a small hidden area first to check the color. You may need to mix custom tints or use artificial aging techniques to replicate the weathered look of the old slab. A sealer can then unify the sheen.
What is the best way to blend a concrete patch with an existing slab?
The best way to blend a patch is a multi-step process. First, prepare the old surface by pressure washing and acid washing to remove dirt and create a profile. Apply a bonding agent or bonding primer to the old concrete. Use a concrete resurfacer or patching compound that matches the old mix as closely as possible. Texture the new surface with a broom finish or stamp to match the old. After curing, use tinting or staining to adjust the color. Finally, apply a sealer to the entire area for a seamless blend.
How long does it take for new concrete to cure to its final color?
New concrete typically reaches its final color after 28 days of curing, though this can vary based on climate and moisture content. In hot, dry weather, curing may be faster but risks cracking. In cool, humid conditions, it may take longer. The color will continue to lighten slightly for several months as the surface weathers. For matching new concrete to old surfaces, wait at least 30 days before evaluating the color match and applying any stains or sealers.