 ultimate-guide
Residential Concrete Driveway Installation Cost Guide
Table of Contents
- Residential Concrete Driveway Installation Cost: The Complete Breakdown
- What Is the Concrete Driveway Cost per Square Foot?
- Site Preparation Factors That Change the Final Price
- Concrete Driveway Removal and Replacement Cost
- Labor vs. Material: Where Your Money Goes
- Hiring a Professional Concrete Contractor: What to Ask
- The Curing and Sealing Timeline After Installation
- Get a Straight Answer on Your Project Cost
- Frequently Asked Questions
Last Updated: September 9, 2026
Residential Concrete Driveway Installation Cost: The Complete Breakdown
The residential concrete driveway installation cost is one of the most variable line items in any home improvement budget. The total price is a function of square footage, site conditions, material choices, and labor rates, not a single national average. The estimate depends entirely on what happens beneath the surface.
Most guides tell you a single price per square foot and stop there, ignoring the two biggest cost drivers: sub-base preparation and the finish you select. The concrete driveway installation cost reflects the engineering required to survive decades of Oklahoma weather and clay soil movement.
Before you collect bids, understand that the lowest quote often means a thinner slab, less reinforcement, or inadequate sub-base preparation. Below, we break down every line item so you can compare estimates with confidence.
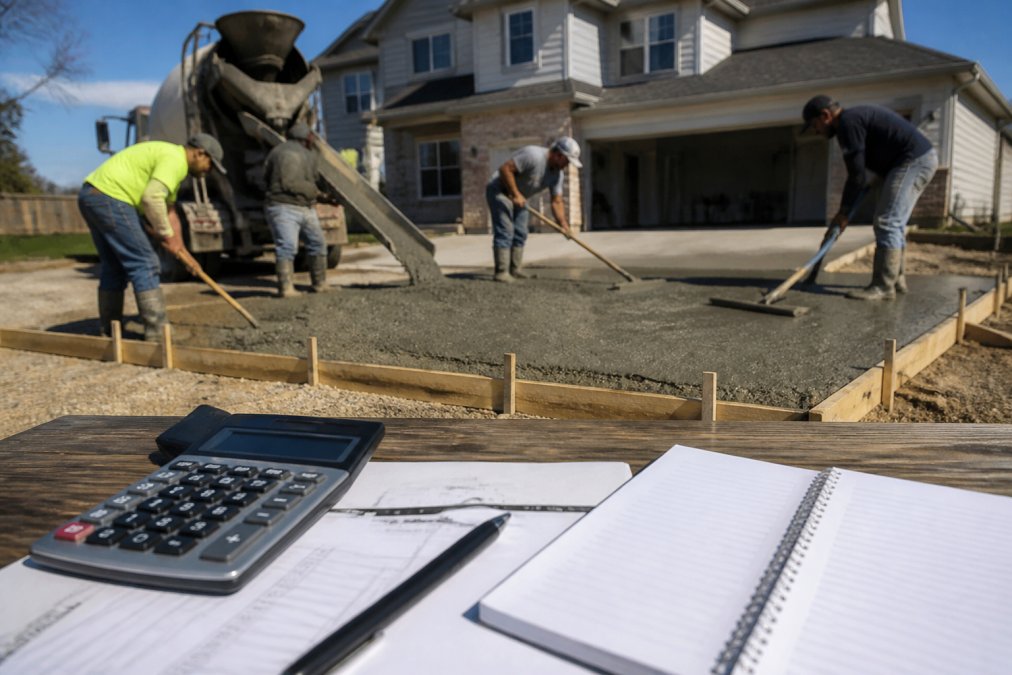
What Is the Concrete Driveway Cost per Square Foot?
The concrete driveway cost per square foot typically ranges from $6 to $12 for a standard installation, but this figure only covers the basic pour. The price climbs quickly with site prep, reinforcement, and finish options.
Concrete driveway cost per square foot is a starting point, not a final number. A basic broom finish on a flat, accessible site sits at the low end; demolition, poor soil, or a decorative finish raises it.
Material Grade and Thickness Requirements
The thickness of your slab directly influences both cost and longevity. Residential driveways require a minimum of 4 inches of concrete, but vehicles heavier than a standard car, such as trucks or SUVs, justify a 5-inch slab (cement.org). The concrete itself should be rated at 4,000 psi strength, which resists cracking better than the 3,000 psi mix sometimes used for patios.
Thicker slabs and higher psi ratings add material surcharges to every cubic yard poured. Portland Cement Association guidance on residential driveways confirms that proper thickness and concrete strength are critical to preventing premature failure. Skimping here to save money almost guarantees cracks within a few years.
Finish Options: Broom, Stamped, and Exposed Aggregate
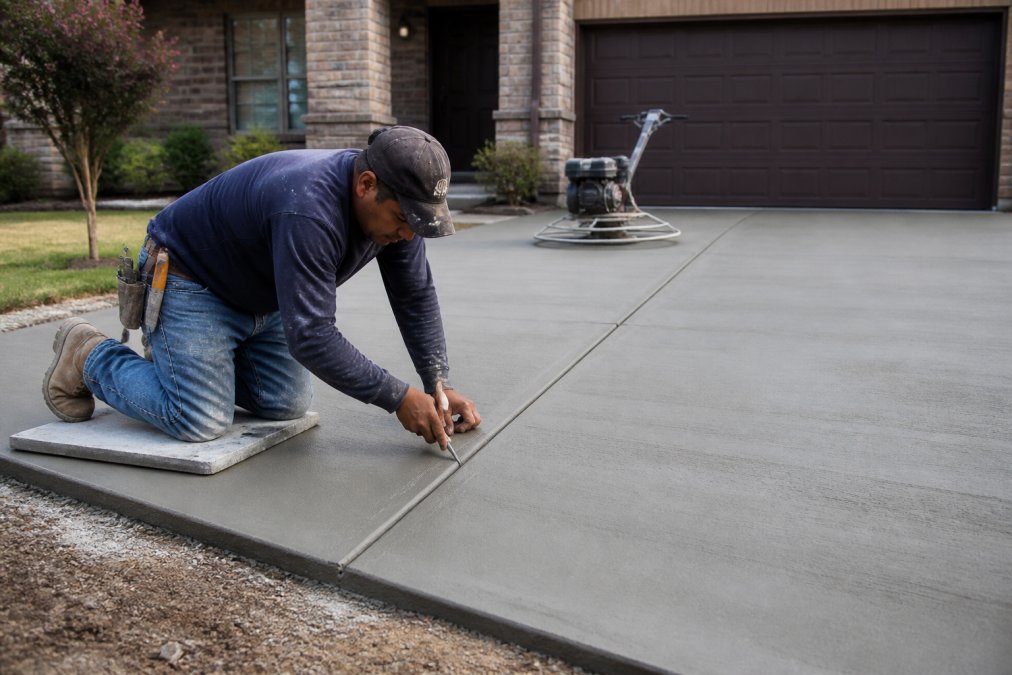
Your finish choice is the most visible cost differentiator. A standard broom finish is the most economical and provides good traction. Stamped concrete, which imitates stone or brick, costs significantly more per square foot due to the labor and materials involved. Exposed aggregate offers a textured, decorative surface and sits in a similar price range to stamping.
| Finish Option | Relative Cost | Best For | Maintenance |
|---|---|---|---|
| Broom Finish | Lowest | Budget-conscious, high-traction needs | Low |
| Stamped Concrete | High | Curb appeal, patios, entryways | Moderate, needs resealing |
| Exposed Aggregate | High | Slip resistance, decorative look | Moderate |
Site Preparation Factors That Change the Final Price
The ground your driveway sits on determines its lifespan more than the concrete itself. Expect excavation, grading, and a compacted sub-base on any honest estimate. The depth of that sub-base and the quality of the soil beneath it are the two details most price guides ignore, and the two that most often separate a 10-year driveway from a 30-year one.
Soil Testing: The First Line Item Most Estimates Miss
A standard visual inspection is not enough. Expansive soils, particularly the clay-heavy soils common across the South and Midwest, shift volume dramatically with moisture changes, and a slab poured on untreated expansive clay can heave or settle by more than an inch within a few seasons. A responsible contractor may recommend a Proctor compaction test on the sub-grade before any aggregate is placed. This test can be a valuable insurance policy against future settlement cracks.
If the test reveals poor load-bearing capacity, the contractor must over-excavate the top 6 to 12 inches of native soil and replace it with compacted engineered fill, placed in 6-inch lifts and mechanically compacted. Skipping this step, or rolling it into a vague 'site prep' line item, is how low bids win the job and lose the driveway.
Sub-Base Depth: Gravel Is Not Gravel
The common recommendation is 4 to 6 inches of compacted aggregate, but the type of aggregate matters. Crushed stone with angular edges locks together under compaction, creating a stable layer; rounded pea gravel shifts under load. The material cost difference is modest, typically $1 to $2 per square foot, but the performance difference is substantial.
For driveways supporting heavy vehicles, a full-size pickup, a loaded work van, or an RV, the sub-base should be increased to 8 inches to spread the point load of heavy axles. The additional excavation and aggregate add roughly $1.50 to $2.50 per square foot but raise the load rating to 'commercial-grade.'
Drainage Slope and Water Diversion
A driveway is a watershed. The finished surface should slope away from the house at a minimum of 1/4 inch per foot, a 20-foot-long driveway should drop 5 inches from the garage apron to the street. This slope is established during grading, not during the pour; a flat sub-grade cannot be 'fixed' with a thicker slab at one end without creating an uneven surface.
For properties with poor natural drainage, a French drain along the low side of the driveway, a perforated pipe wrapped in filter fabric and buried in gravel, can carry water away from the slab and foundation. On a property with a high water table or a downhill slope toward the house, it can be the difference between a dry, stable driveway and one that develops frost heaves or erosion voids.
Concrete Driveway Removal and Replacement Cost
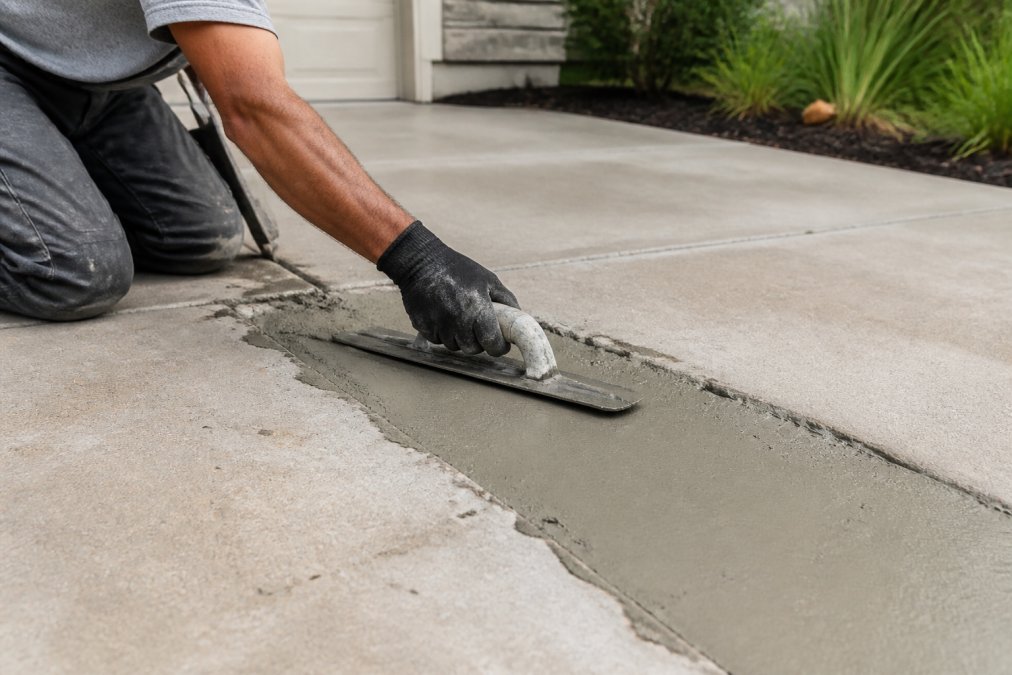
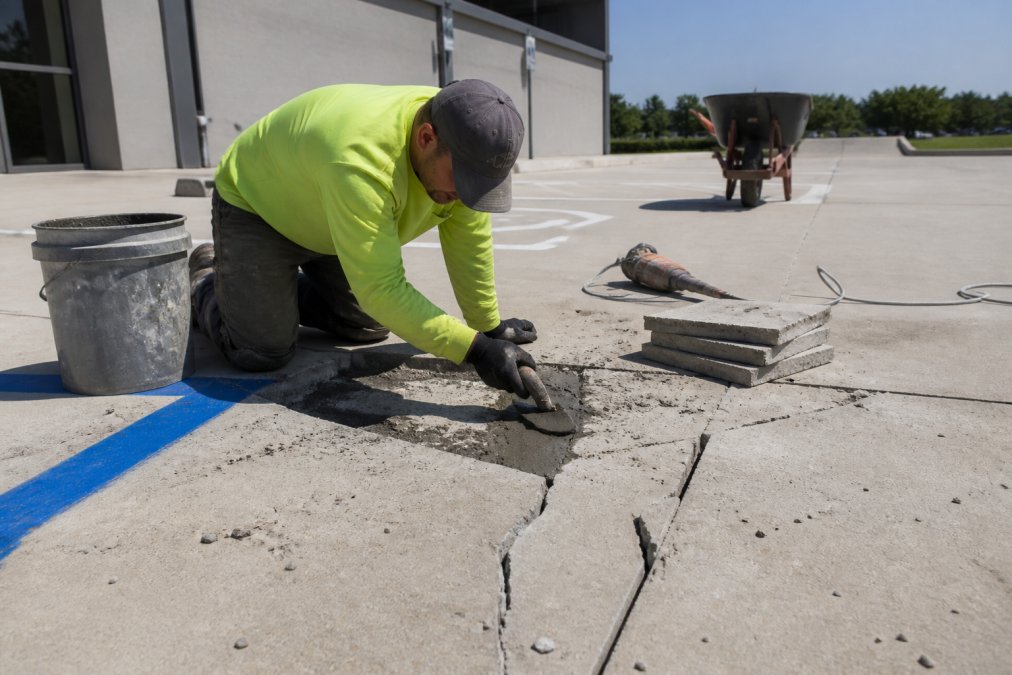
If you're replacing an existing driveway, the concrete driveway removal and replacement cost includes a significant demolition phase. The old slab must be broken up, hauled away, and disposed of, priced separately from the new installation.
Demolition costs depend on the driveway's thickness, square footage, and site accessibility. Dumpster fees, disposal charges, and any required permitting are typically itemized on your quote.
The replacement cost follows the same structure as a new installation, but with added complexity. Proper removal prevents damage to landscaping, sidewalks, and foundation, and ensures the new sub-base is built on solid ground.
Labor vs. Material: Where Your Money Goes
For a standard driveway, labor often accounts for roughly half to two-thirds of the total price, because concrete work is physically demanding and requires skilled crews.
Material costs include the concrete mix, reinforcement, and finishing agents, tied to fluctuating market rates for cement, aggregate, and fuel. A contractor's quote should transparently break down these components.
Hiring a professional concrete contractor is not the place to cut corners. A skilled crew ensures proper sub-base compaction, correct slump in the mix, and timely finishing, expertise that prevents cracking, scaling, and uneven surfaces.
Hiring a Professional Concrete Contractor: What to Ask
When you interview contractors, ask about their process for sub-base preparation, the psi rating of the concrete, and how they handle expansion and control joints. These answers reveal whether they prioritize longevity or just getting the pour done.
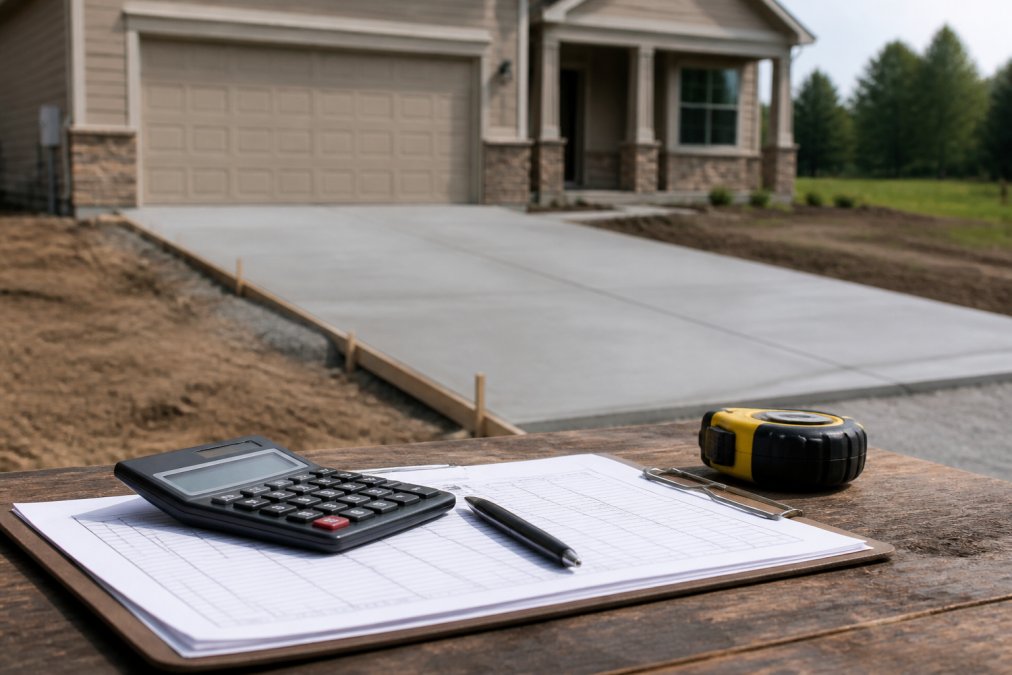
Ask for a detailed written estimate that itemizes excavation, sub-base, reinforcement, concrete, finishing, and cleanup. Vague bids quoting a single lump sum are a red flag. Also ask about their curing process, as proper curing is essential for the concrete to reach full strength.
Look for a team that communicates clearly, provides a realistic timeline, and has a track record of finishing projects. Transparency about scheduling and progress is a sign of a professional operation.
The Curing and Sealing Timeline After Installation
Fresh concrete needs time to cure and reach its designed strength, and this process is often rushed or ignored. The surface should be kept moist for the first several days to prevent rapid moisture loss, which causes cracking. While full strength develops over weeks, the first week is the most critical. Here is the day-by-day sequence that prevents the most common post-pour failures.
Days 1-3: The Moisture Retention Window
The first 72 hours after the pour are when the concrete is most vulnerable to rapid moisture loss. The crew should apply a liquid membrane-forming curing compound immediately after finishing, a spray-on barrier that traps moisture in the slab. If using wet burlap or a soaker hose, the surface must be kept continuously damp; a single dry cycle in the first 48 hours can reduce surface strength by as much as 20%.
During these first three days, keep all vehicles and foot traffic off the slab. The concrete is still hydrating, and any load placed on it before it reaches sufficient strength will create compression damage that appears as surface dusting or scaling months later.
Days 4-7: Forms Come Off, Light Foot Traffic Only
Most contractors remove forms between 24 and 48 hours after the pour, but by day four the concrete has typically reached only about 40% of its design strength. Light foot traffic is acceptable, but keep pets, bicycles, and anything with point loads off the surface. Edges and corners lose moisture first, so monitor them for cracking if the curing compound was applied unevenly.
Days 7-28: The Strength Curve
Concrete gains strength logarithmically: at 7 days it typically reaches about 70% of its 28-day design strength, at 14 days around 85%. This is why the standard specification is '28-day compressive strength', the mix is designed to hit its rated psi (typically 4,000 psi for driveways) at that mark.
Heavy vehicles should stay off until at least day 14, ideally day 28. A passenger car can be driven on the slab at day 7 if cured properly, but the repeated stress of a heavy truck turning its wheels can cause surface abrasion. If you must park before day 14, place plywood under the tires.
Day 28 and Beyond: Sealing for the Long Haul
Sealing is not a one-time event; it requires periodic reapplication every few years to maintain protection. Federal Highway Administration guidance on concrete curing underscores that proper curing significantly improves the durability and longevity of concrete structures. The first sealer application should happen after the full 28-day cure, when the slab has reached its design strength and any residual moisture has evaporated from the surface. Applying sealer too early traps moisture inside the slab, which leads to efflorescence and a blotchy appearance.
Choose a penetrating sealer for exterior driveways rather than a film-forming acrylic. Penetrating sealers soak into the pores and react with free lime to form a hydrophobic barrier; they do not change appearance, peel, or yellow, and they allow the concrete to breathe. Film-forming sealers sit on top and wear in high-traffic tire paths, requiring more frequent reapplication.
The Seasonal Reapplication Schedule
Plan to reapply a penetrating sealer every 2 to 3 years, or sooner with heavy winter deicing salt use. Deicing salts are the single most destructive chemical agent for concrete driveways, they lower the freezing point of water, which penetrates surface pores and expands when freezing, causing spalling. A penetrating sealer does not make concrete immune but significantly reduces moisture intrusion.
Apply the sealer on a dry day when the temperature is between 50°F and 80°F, with no rain forecast for at least 24 hours. The surface must be clean and completely dry, sweep off debris and clean oil stains with a degreaser. A single coat is usually sufficient; most products cover 150 to 250 square feet per gallon.
Get a Straight Answer on Your Project Cost
The residential concrete driveway installation cost is never a single number. It depends on your site, soil, driveway size, and finish choice. The best way to get an accurate figure is to have a professional assess the conditions in person.
At GatorCrete, we provide transparent, itemized estimates that explain exactly what your project requires. Our GATOR TOUGH results come from a commitment to proper site preparation, quality materials, and unparalleled craftsmanship. We handle new installations, expert repairs, and protective sealing for both residential and commercial clients across the Greater Tulsa area, and we focus on communication to ensure your project meets expectations.
Get a straight answer on your project cost. Contact GatorCrete for a quote and see the difference that transparency and durability make.
Frequently Asked Questions
How much does a 20x40 concrete driveway cost?
A 20x40 driveway equals 800 square feet of surface area. The residential concrete driveway installation cost depends on your region, site conditions, and chosen finish. Standard gray concrete with a broom finish costs less per square foot than stamped or exposed aggregate options. Site preparation work, including grading and sub-base compaction, adds to the total. Contact GatorCrete for a detailed quote based on your specific soil and layout.
Is 4 inches of concrete thick enough for a driveway?
Four inches of concrete meets the standard thickness requirement for most residential driveways carrying passenger vehicles. If you park heavy trucks or large RVs, increase the slab to 5 or 6 inches with proper reinforcement like rebar or wire mesh. The load-bearing capacity depends on both slab thickness and the sub-base preparation beneath it. A contractor should assess your vehicle load before pouring to prevent future cracking.
What factors increase the cost of a concrete driveway removal and replacement project?
Concrete driveway removal and replacement cost rises with demolition complexity, disposal fees, and site accessibility. Contractors must haul away the old slab, which adds dumpster and trucking expenses. If the existing concrete is reinforced or thicker than standard, demolition takes longer. New sub-base preparation, grading for proper drainage slope, and expansion joint installation all factor into the replacement price. Get an itemized estimate that separates removal from installation costs.
How long does a professional concrete driveway installation take?
Most residential concrete driveway installations take 3 to 5 days from start to finish. Day one covers demolition and site preparation, including excavation and sub-base compaction. The crew pours and finishes the concrete on day two. The critical curing time lasts about 7 days for foot traffic and 28 days for full strength. Sealer application happens after the initial cure period, adding another day to the timeline.